How To: Prevent Your Halloween Pumpkins From Rotting

A pumpkin carved in the shape of Jack from “The Nightmare Before Christmas” lit with tea lights.
October 15, 2019
With Halloween just around the corner, pumpkins, both real and fake, are at the forefront of nearly every store. Kids of all ages (and adults) love to use the orange fruit for multitudes of purposes. Pumpkin pies are a beloved classic in almost every household, and are especially popular around the spooky season. Year round, pumpkins are also used to create other delicious foods such as pumpkin soup and pumpkin butter. Additionally, pumpkin seeds are also popular as a snack, or as treats in a bird-feeder. However, the most iconic use for pumpkins has to be carving them into jack-o’-lanterns.
Avoiding a Jack-O’-Lantern Crisis
In the weeks leading up to Halloween, jack-o’-lanterns litter every neighborhood. Their carved faces are the image of Halloween, with their smiles and snarls and glowing triangle eyes. It’s a sight that brings out the inner child in all of us… until the pumpkins start to rot. There’s nothing worse than setting up your basket of candy on Halloween night just to find that the jack-o’-lanterns you had painstakingly carved the week before all blackened and shriveling. Not to mention the horrendous smell! Here’s how to avoid a rotting pumpkin nightmare on Halloween.
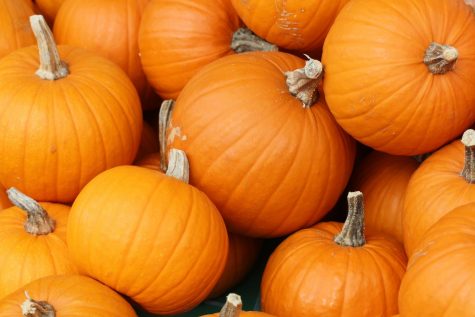
1. Pick out a fresh one.
This might seem obvious, but it’s very important to select a healthy, bright pumpkin when shopping for one. Avoid ones that have soft skin or discolored spots. These are signs that the pumpkin is already starting to rot. A good pumpkin should feel firm and have a hard shell.
2. Clean it out completely.
Get ready to get messy! In order to ensure your pumpkin doesn’t start to smell, it’s essential to clean it out properly. Yes, that means scraping out every last bit of stringy pulp and clumped up seeds. On the plus side, these “guts” can be used to make the classic soups and snacks mentioned earlier. Now, not only do you have a pumpkin that doesn’t stink up your front door, you can also whip up some delicious fall treats.
3. Soak it in a bleach-water solution.
Believe it or not, bleach can be used here too! After carving your pumpkin, submerge it completely in a water bath with 2/3 cups of bleach added. Let the pumpkin soak for at least a day. If you don’t have the time, overnight should work fine too! The main point of this bath is to completely clean the pumpkin, getting rid of the pesky bacteria that makes it rot faster.
4. Apply Vaseline to the carved edges.
This will prevent the edges from drying out too fast. If you didn’t carve your pumpkin, you can skip this step! Alternatives to Vaseline include vegetable oil or WD-40. However, since all these are flammable, be careful if you want to put candles into your pumpkin. Instead, you can always use flame-less illumination for a safe and fun jack-o’-lantern.
After completing all these steps, your pumpkin should be fresh and ready to go. Set it out on your front porch or yard and enjoy your stink-free jack-o’-lantern. Happy Halloween!